What is the “Internet of Things” (or IoT for short)? The “internet of things” is devices and appliances that have been internet enabled (they have an internet connection). A prime examples of this done well are Nest and Hive, both allow you to monitor your homes energy use and set the temperature to name only a couple of features.
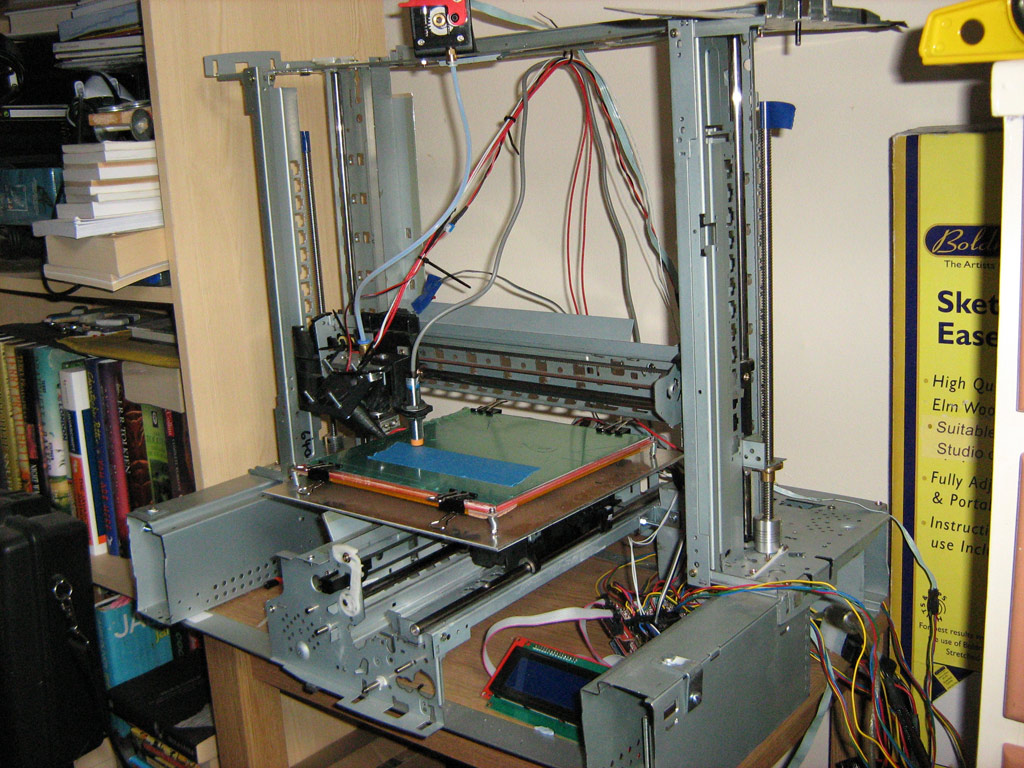
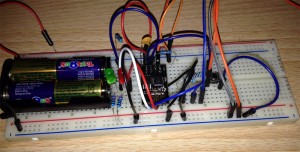
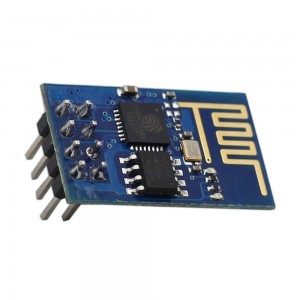 I decided to take a look at this area and see what would be achieved. I knew there were a few options for connecting to the internet from the Raspberry PI to Arduino (with an ethernet shield) and others. These are great platforms and make it really easy but I wanted to see how cheaply it would be done. I did some searching and encountered the ESP8266 (see picture, this one is an ESP-01), I found one selling for £2.49. These are marketed as a Wifi transceiver for devices like the Raspberry PI and Arduino, but that isn’t the whole story. The ESP8266 has a on board 32 bit processor with at least 512kb of memory (some versions have more) and some free GPIO pins (general purpose input/output…it means we can control other things), the ESP-01 has 2 other versions have more GPIO (more pin more things you can control). You’re probably thinking…so. Well as it has it’s own processor and memory it can perform loads of operations for us without the need for an external micro-controller. This is great, it’s cheap we don’t need more processors and we can still control things.
Out of the box it’s pretty basic you can send it simple AT commands (similar to the old days of modems), with a couple of commands it will connect to your WIFI station and get an IP address, with a few more commands it will get a web page. In all honesty that is kind of tedious but thankfully the developers of the board released an SDK so people could develop their own firmware for the board (the software that makes it work). Once people had the SDK new and easier to use firmwares were developed the one i’ve decided to use is call NodeMCU. NodeMCU works really well and in just a few commands it will operate as a web server. On the page mine served it had four buttons, the four buttons turned a couple of LEDs on and off. That might sound basic but it is the essence of what most modern electronic do, consider a home security system, the panel that arms the system just sets some logic that waits for conditions to be met.
Security
There has been a lot of press recently about the security of IoT devices and they’re quite right earlier versions would be pretty easy to hack, it’s worth keeping in mind that the systems are based on software and it can be upgraded. What steps should be taken, as IoT devices as connecting to your Wifi network make sure the passwords are strong (a weak password will easily let someone in). Don’t access the devices setting from insecure networks.